VPS, підключений до Інтернету, буде автоматично просканований і атакований вже за лічені хвилини. Найшвидший спосіб знизити ризик — це посилити захист доступу через SSH, увімкнути брандмауер із режимом «за замовчуванням — заборона» та заблокувати спроби підбору паролів методом грубої сили. У цьому посібнику наведено перевірену базову конфігурацію для Ubuntu/Debian (з примітками для систем на базі RHEL).
Безпека також залежить від стабільності та контролю: почніть з чистого, надійного VPS на базі Linux, а потім виконайте ці кроки одразу після розгортання.
Почніть із застосування оновлень безпеки.
Debian/Ubuntu:
sudo apt update && sudo apt -y upgradeНа базі RHEL (AlmaLinux/Rocky/CentOS):
sudo dnf -y update || sudo yum -y updateРобота під root є ризикованим. Створіть звичайного користувача з правами sudo та використовуйте його для щоденного адміністрування.
sudo adduser admin
sudo usermod -aG sudo adminsudo useradd -m -s /bin/bash admin
sudo passwd admin
sudo usermod -aG wheel adminНеобов’язково (рекомендується): обмежте вхід через SSH певною групою (наприклад: sshusers).
sudo groupadd sshusers || true
sudo usermod -aG sshusers admin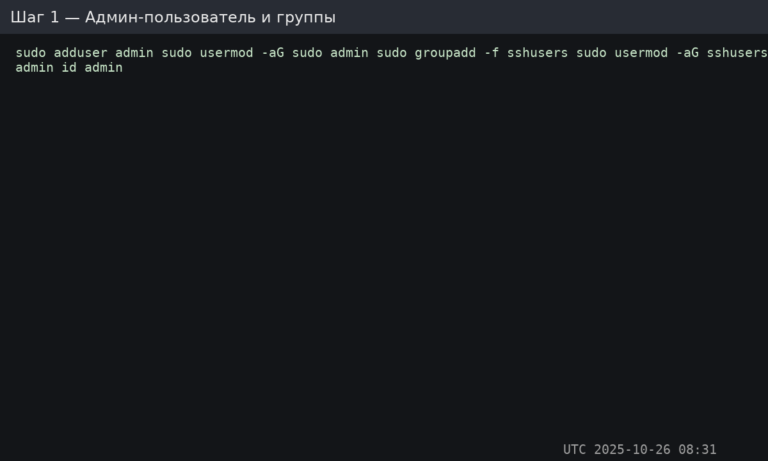
Важливо: на сервер копіюється лише відкритий ключ (.pub) копіюється на сервер. Приватний ключ залишається на вашому локальному комп’ютері, і його ні в якому разі не можна передавати іншим.
ssh-keygen -t ed25519 -a 64Натисніть Enter, щоб прийняти розташування за замовчуванням (~/.ssh/id_ed25519) та, якщо можливо, встановіть пароль.
Рекомендований метод (ssh-copy-id):
ssh-copy-id -i ~/.ssh/id_ed25519.pub admin@SERVER_IPРучний метод (якщо ssh-copy-id не доступний):
sudo -u admin mkdir -p /home/admin/.ssh
sudo -u admin chmod 700 /home/admin/.ssh
sudo -u admin nano /home/admin/.ssh/authorized_keys
sudo -u admin chmod 600 /home/admin/.ssh/authorized_keys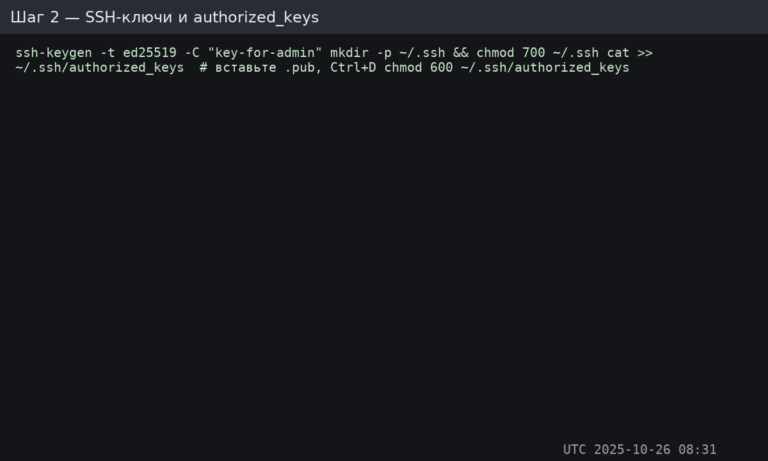
Перевірте вхід за допомогою ключа зараз (перед зміною налаштувань SSH):
ssh admin@SERVER_IPВідредагуйте конфігурацію демона SSH. Зазвичай це файл /etc/ssh/sshd_config.
sudo nano /etc/ssh/sshd_configВстановіть (або переконайтеся, що) ці директиви існують. Налаштуйте порт, якщо ви використовуєте власний.
# Optional: change SSH port (remember to allow it in firewall first)
# Port 2222

PermitRootLogin no
PasswordAuthentication no
PubkeyAuthentication yes

# Disable interactive auth methods if not needed
KbdInteractiveAuthentication no
ChallengeResponseAuthentication no

# Optional: restrict who can SSH (recommended)
AllowGroups sshusers

# Reasonable brute-force limits (helps even without Fail2Ban)
MaxAuthTries 3
LoginGraceTime 30
Перевірте синтаксис конфігурації (безпечна перевірка):
sudo sshd -tПерезапустіть/перезавантажте службу SSH:
Ubuntu/Debian:
sudo systemctl reload sshНа базі RHEL:
sudo systemctl reload sshd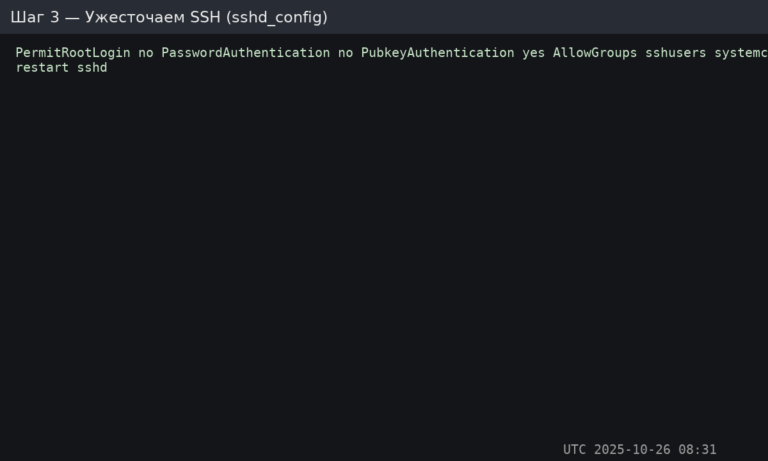
Важливо: переконайтеся, що ви можете увійти за допомогою ключа, перш ніж виходити з поточної сесії. Інакше ви можете заблокувати собі доступ.
UFW — це найпростіший брандмауер для Ubuntu/Debian. Його мета: відхиляти всі вхідні запити, дозволяючи лише те, що потрібно вашим службам.
Встановіть та налаштуйте UFW (Ubuntu/Debian):
sudo apt update && sudo apt install -y ufw

# Defaults
sudo ufw default deny incoming
sudo ufw default allow outgoing

# Allow SSH (important: adjust if you changed the port)
sudo ufw allow OpenSSH

# Common web ports (optional)
sudo ufw allow 80/tcp
sudo ufw allow 443/tcp

# Enable and check status
sudo ufw enable
sudo ufw status verbose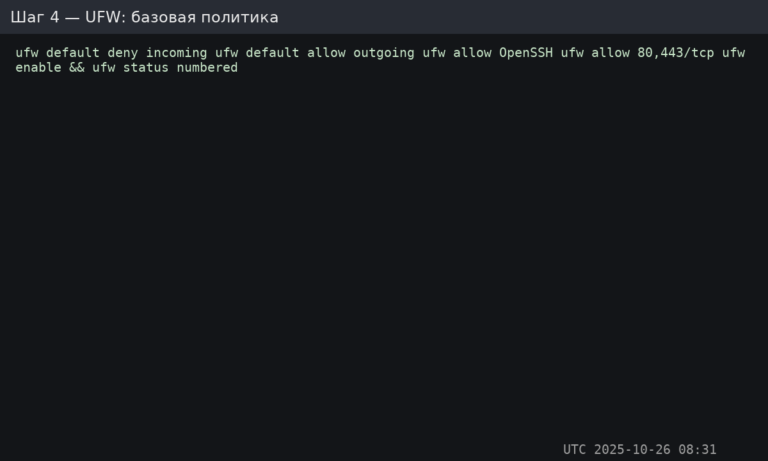
Якщо ви використовуєте власний порт SSH (наприклад, 2222), додайте його явно перед тим, як щось вмикати/вимикати:
sudo ufw allow 2222/tcpПримітка для систем на базі RHEL: UFW там не є стандартним. Більшість використовує firewalld (firewall-cmd) замість нього.
Fail2Ban відстежує журнали та блокує IP-адреси, які демонструють зловмисні ознаки (наприклад, повторювані невдалі спроби входу). Це зменшує шум від атак методом грубої сили та запобігає багатьом базовим атакам.
Встановіть та увімкніть Fail2Ban:
sudo apt install -y fail2ban || sudo dnf install -y fail2ban
sudo systemctl enable --now fail2ban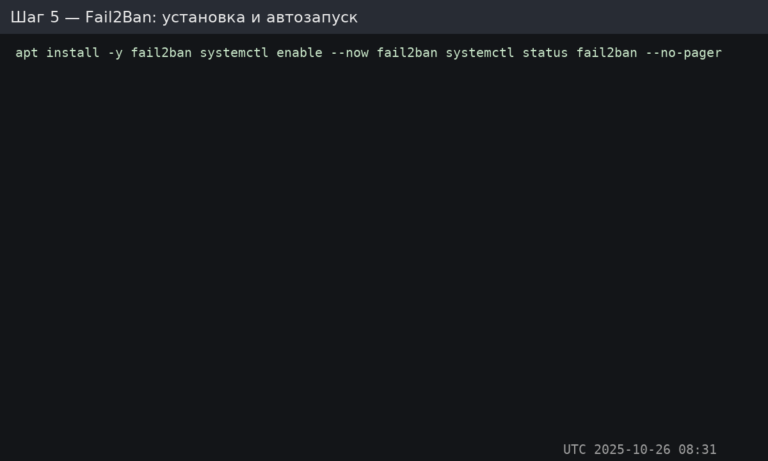
Створіть або відредагуйте:
sudo nano /etc/fail2ban/jail.localМінімальна рекомендована конфігурація:
[DEFAULT]
bantime  = 1h
findtime = 10m
maxretry = 5

# If you use UFW, this integrates cleanly on Ubuntu/Debian
banaction = ufw

[sshd]
enabled = true
port    = ssh
logpath = %(sshd_log)s
Перезапустіть Fail2Ban:
sudo systemctl restart fail2ban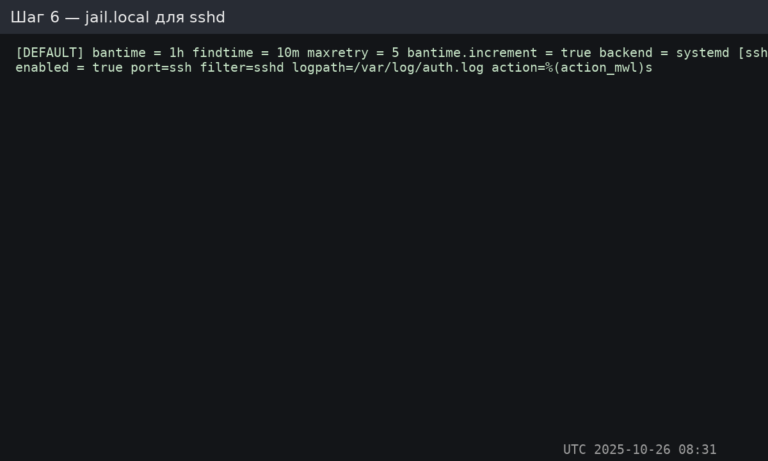
Порада: пізніше ви також можете захистити кінцеві точки аутентифікації Nginx та агресивних ботів за допомогою додаткових jail, але спочатку почніть з SSH.
Перевірте стан Fail2Ban та активні блокування:
sudo fail2ban-client status
sudo fail2ban-client status sshd
Перегляд логів:
sudo tail -n 200 /var/log/fail2ban.log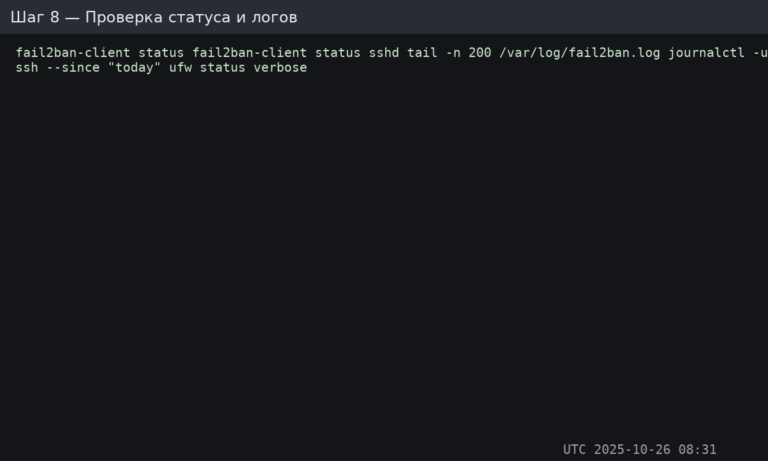
Як перевірити блокування (безпечний метод): з іншого комп’ютера зробіть 5–6 неправильних спроб входу через SSH. Потім перевірте ще раз fail2ban-client status sshd — ваша IP-адреса має з’явитися у списку заблокованих IP-адрес.
Зняти заборону з конкретної IP-адреси (за потреби):
sudo fail2ban-client set sshd unbanip 203.0.113.50sshd, блокування підтверджуються, журнали контролюються.Розгорніть чистий сервер, заблокуйте SSH за допомогою ключів, дозвольте у брандмауері лише те, що вам потрібно, і дозвольте Fail2Ban обробляти шум від брутфорсу. Почніть з надійного VPS на базі Linux і застосуйте ці базові заходи безпеки одразу після розгортання.